
This recipe for Sourdough bread is made without any commercial yeast. It is made with a sourdough culture which consists of only flour and water.

Want to save this recipe?
Enter your email & I'll send it to your inbox. Plus, get great new recipes from me every week!
I've had sourdough bread many times, but the most memorable experience was when I was visited San Francisco, where I tasted the most complex, flavorful sourdough bread from the famed Boudin Bakery.
Paired with a warm, hearty clam chowder and taking in the scenes at the Fisherman's Wharf, it was a heavenly combination.

What is sourdough?
Sourdough is all the rage right now.
A true sourdough bread doesn't contain any commercial yeast and is made with a sourdough culture which consists of only flour and water.
The culture is kept at room temperature for days and is fed at intervals during the day with water and flour.
The bacteria in the air helps the water and flour ferment naturally, giving sourdough its distinct sour taste.
(There's lots of recipes for growing sourdough starter/culture, so you can Google how to make the starter).
Special equipment
- Dutch or French oven
- banneton
One of the things you need in order to bake artisanal bread is a vessel that can trap steam well.
A Dutch or French oven will do the trick.
What's the difference between Dutch & French oven?
- Dutch oven is a raw cast iron pot with a tight-fitting lid
- French oven is enameled cast iron pot with a tight-fitting lid
I don't suggest using glassware for baking sourdough since we'll be heating the vessel to 500F.
You will also need a banneton.
What's a banneton?
A banneton is a proofing basket, usually made of bamboo. It is also known as a brotform.
The basket helps to retain the shape of the dough. The banneton will leave a coiled imprint on the dough as well.
Bannetons come in various shapes and sizes: most commonly round and oval.
They sometimes come with a linen cloth which is used with the banneton if you don't want an imprint on your dough.

Trials & tribulations
After making sure I had my starter and all the special equipment, I was ready to tackle sourdough.
As much as it is a simple process -- it does take a lot of patience.
After building the starter for a few weeks, it takes 2 days to produce a loaf of bread.
I was humbled by the learning curve when I first tried making sourdough.
My first loaf was flat as a pancake. The next ones were a little better, but with unsightly gaping holes. It took a few months and a mini break before I got the hang of it.
Time & temperature
It takes time to know how your starter behaves. When you get to know it, you'll know its characteristics.
For example, my starter is typically sluggish so I need to take it out a day beforehand and feed it before it is super active.
The one thing I wish I knew earlier was that the temperature of your dough (not the room) really affects how long you need to proof it.
If the dough is warm, then it needs less bulk fermentation time.
Conversely, if the dough is colder, then it will need a longer bulk fermentation time.
Generally, I keep my dough temperature around 78F and bulk ferment for around 4-6 hours.
Experiment with flavours
The lovely thing with sourdough is that you can play with the flavours and experiment to your liking.
If you like a tangy sourdough, leave it to cold ferment in the fridge for longer.
Add jalapenos and cheddar for a savoury, delicious twist. (It's one of my youngest's favourite sourdough flavours).
Or try cranberries and pecans for a sweet breakfast twist.
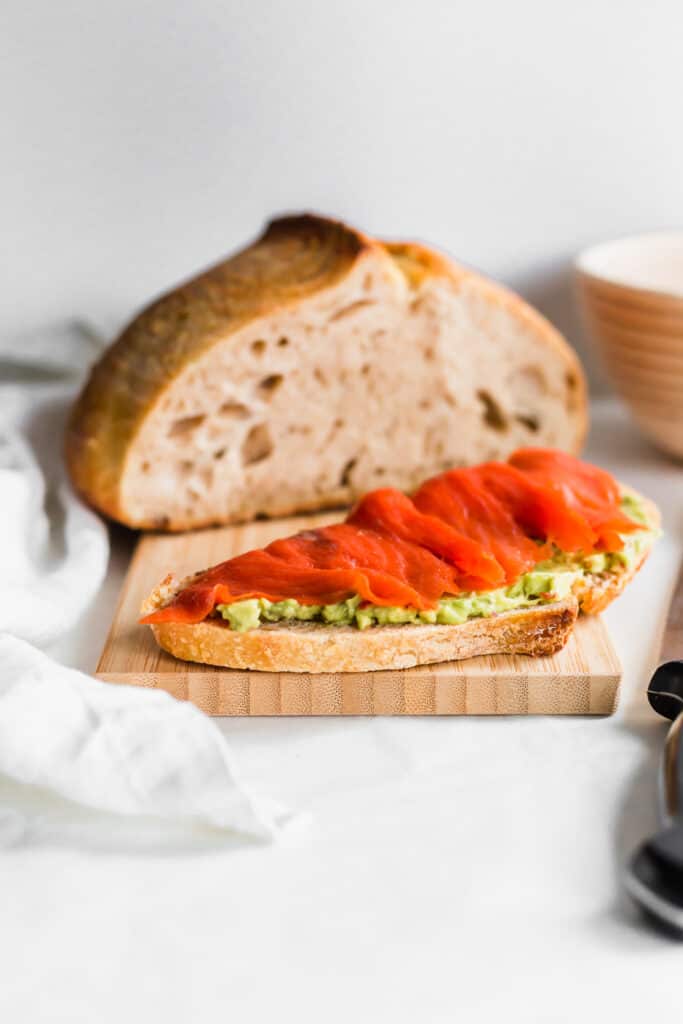
Leave it plain and enjoy it with avocado and salmon (my ultimate favourite lunch).
Other recipes you may like
Other ways of using sourdough starter include:
... If it's normally yeasted, it can be made with sourdough!
Let me know if you try this recipe for sourdough bread -- tag me on Instagram @siftandsimmer or leave me a comment below!
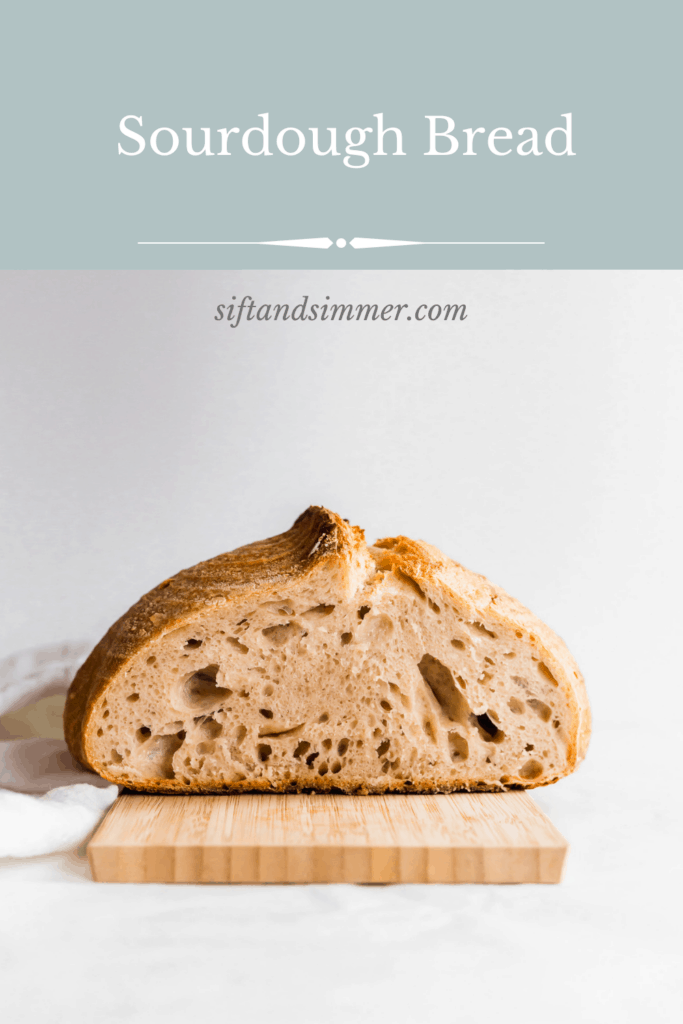

Sourdough Bread
For accuracy and precision in baking recipes, use weight (metric) measurements when available.
Ingredients
- 100 g sourdough starter
- 325 g water filtered, room temperature
- 25 g warm water for dissolving the salt
- 500 g all-purpose flour or bread flour
- 9 g sea salt
- rice flour for dusting
Instructions
Maintaining Starter:
- Bring sourdough starter to room temperature one or two nights before you want to make bread.
- Remove about half of the starter (save it for pancakes, or another recipe) and feed the remaining starter with 40g water and 40g flour.
- Leave it to ferment overnight, until it doubles in size. Repeat each day until the bubbles in the starter are nice and active.
- When you remove starter for baking, remember to feed it an equal amount of flour and water.
- If you’re not planning to bake, place the fed starter into the fridge. You can keep the starter in the fridge for weeks, but it’s best to take it out and feed it once a week or so.
Method:
- Once the starter is bubbly and active, remove 100g sourdough starter and place into a large bowl.
- Add in 325g of water and 500g all-purpose flour to the starter.
- Give it a mix and cover with plastic wrap. In the meantime, microwave the 25g of water and add 9g salt and give it a stir to dissolve. Set aside.
- 30 minutes later, add in the salt water to the flour mixture. Use a spatula or your hands to give the dough a few kneads. Cover again and let rest.
- Once every 30 minutes, give the dough a few stretches and folds with your hands. (Best way to do this is to wet your hands and pull the dough up gently; rotate the bowl 90 degrees and repeat).
- Do this for the next 2 hours (for a total of 4 sets of stretches and folds) and then cover the dough, and set aside to bulk ferment.
- My bulk fermentation for a dough around 78°F is about 4 hours.
- Depending on how warm your kitchen is, this can take anywhere from a few hours to 10-12 hours. (It will rise slower than active dry yeast).
- Once the dough feels ready (you can see lots of bubbles on the surface), and has increased in volume (but not necessarily double in size) it is time to shape.
- Transfer the dough to a well-floured surface, and pinch the edges together so it becomes a round ball.
- Using a dough scraper, push the edge of one side of the dough to create a bit of tension. Repeat with the opposite edge (eg. North to South, South to North) and then then East to West and West to East.
- Place the dough seam side up into a banneton dusted with rice flour (my banneton is 6" in diameter). Cover with plastic wrap and let it rest at room temperature for 30 minutes.
- Move the dough into the refrigerator to proof overnight (cold ferment).
- In the morning, preheat a Dutch oven/cast iron pot with cover to 500°F/260°C for at least 30 mins to 1 hour.
- Remove the dough from the fridge, and transfer onto a piece of parchment paper. Remove the banneton.
- Score the top of the dough at a 45° with a sharp knife (this gives the bread a weak point for the steam to escape).
- Carefully remove the hot dutch oven pot from the oven (use gloves) and place the dough into the pot with the parchment paper. Cover with the lid.
- Place it into the oven and bake at 500°F/260°C for 20 minutes.
- Reduce the temperature to 400°F/204°C and bake for another 30 minutes.
- Let completely cool before slicing. (Cool for at least 3-4 hours).
Notes
Nutrition
The nutritional information provided should be considered as approximate and is not guaranteed. Please use your best judgment to ensure food is safely prepared and/or a good fit for your diet.


Lara
This is a beautiful loaf of sour dough bread!
Michelle
Thank you for the comment, Lara 🙂
2pots2cook
Love everything about this one: the bread, photos..... so great; so pined and shared and everything 🙂 🙂 🙂
Michelle
Thank you very much!!
Dawn - Girl Heart Food
Such a beautiful loaf!! Nothing like homemade bread and I bet this one tastes as good as it looks!!
Michelle
Thanks Dawn! Agreed -- homemade bread is the best! 🙂
David @ Spiced
That is indeed a gorgeous loaf of bread, Michelle! Like you, we've been baking a ton of bread here during the quarantine. I've employed my 4-year-old as my sourdough helper, and he's had a lot of fun baking with me. Now I want to try adding cheese and jalapenos - yum!!
Michelle
Thank you David! That's awesome to hear your 4-year old has been helping in the kitchen! Mine gets excited to help for the initial stages and then wanders off haha, but would you believe that jalapeno & cheese is his favourite flavour of sourdough? 🙂
Leanne
Making sourdough was on my list to try this year, and I feel like I was the only one that didn't make it during self-isolation! It's still on my list and the year is just half over, so I have time. And this lovely loaf is inspiring me to get on it!
Michelle
Yes you definitely have time! It's never too late to start -- once you do, you'll be making it weekly! 😉 Thanks Leanne!
Christie
Michelle, you nailed this sourdough bread! It looks SOOO fluffy yet also has that wonderful chewy texture to it. Great job my friend and thanks for sharing the recipe!
Michelle
Thanks Christie! There definitely was a learning curve, but once you get it, it's so rewarding!! 🙂
Eva Lee-Pourzargham
Baked my sourdough bread today using your recipe. So happy with the result. Thank you😀
Michelle
Amazing, glad to hear it! 🙂